Score Big This MLK Day Weekend!
Unlock Your Basketball Potential at Our Exclusive MLK Day Weekend Clinic (SundayEve) 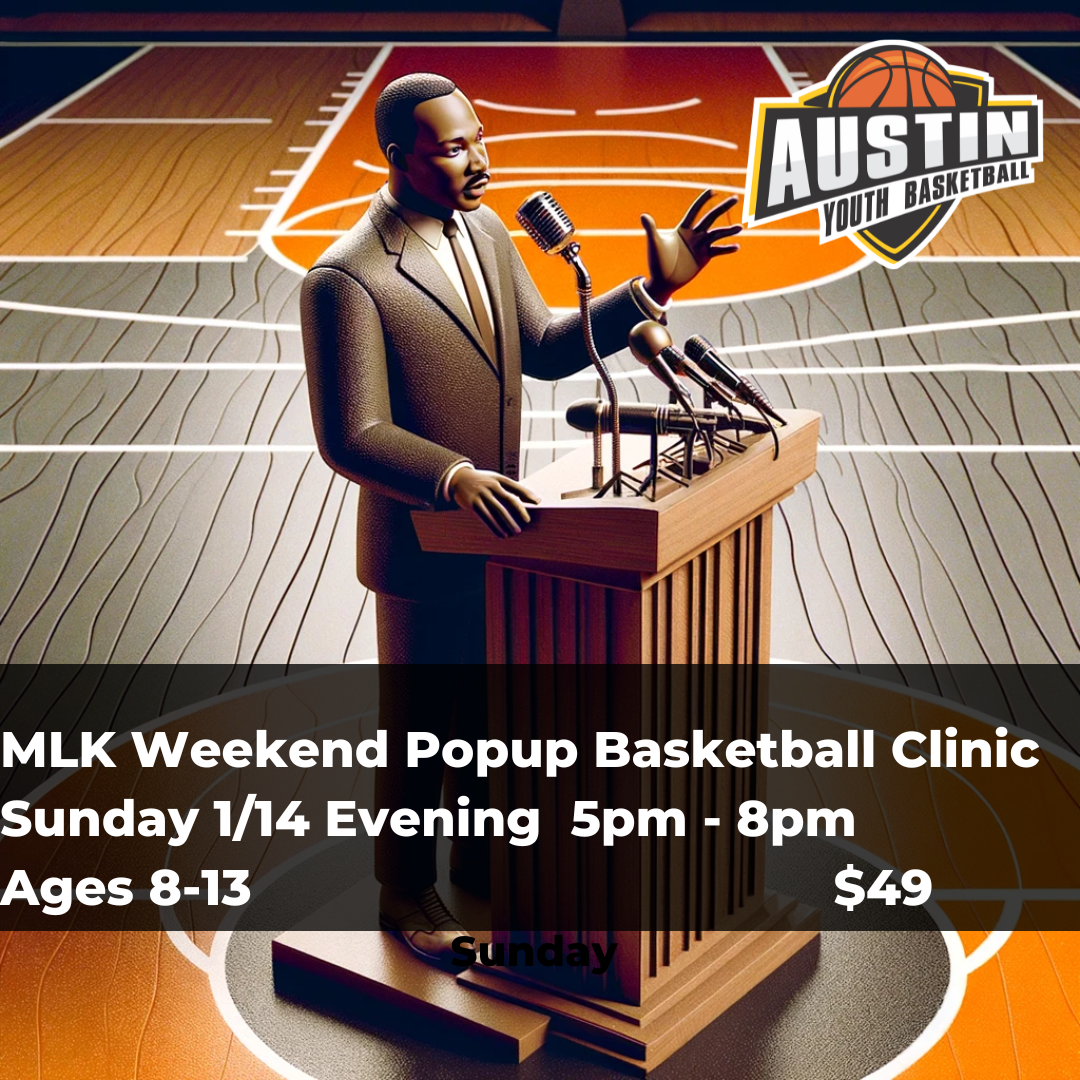
Key Details:
- Date: **Sunday** January 14, 2024 – MLK Day Weekend Holiday
- Ready to Learn the Skills & Mindset Necessary to Score 20 Points in a Game?
- Join Our MLK Day Basketball Clinic
Session Information:
- Sunday Evening Session: **Sunday** 1/14 5pm – 8pm
- Location: FITZHUGH BAPTIST CHURCH GYMNASIUM
11607 Crumley Ranch Rd
Austin, Texas 78736
Registration Urgency:
- Limited Availability: Act Now! Only 25 Spots Available!
About the Camp Director:
 Meet Chris Corbett – Austin’s Top Shooting Coach is renowned for his expertise in basketball coaching, will lead the clinic, focusing on scoring fundamentals, in-season shooting tweaks, and confidence-building strategies.
Clinic Highlights:
- Key Skills:
- Master ‘Ready on the Catch’ techniques
- Perfect Hand Positioning on the Basketball
- Learn Assertiveness and Team Communication
- Develop Intuitive Shooting Decisions
- Unlock the Secret of Footwork in Shot Preparation
- Enhance Consistency with Leg Power
- Own Your Follow-Through
- Create a Personalized Season Plan
- Rediscover the Fun in Shooting
- Finishing Moves for Confident Drives
- Defensive Skills to Keep You in the Game
- Free Throw Mastery
- Effective Movement without the Ball
- And Much More!
Contests and Prizes:
- Engagement: Join us for contests, music, and prizes! Plus, learn multiple take-home drills.
Motivation and Inspiration:
- MLK Quote: Reflect on Dr. Martin Luther King Jr.’s words: ‘Life’s most persistent and urgent question is ‘What are you doing for others?’’ How can you apply this in basketball and life?
Secure Your Spot Now!”
- Reminder: Each session only $49. Limited spots available!
 (https://austinyouthbasketball NULL.leagueapps NULL.com/camps/4135298-mlk-day-weekend-sunday-eve-basketball-clinic)


 (https://austinyouthbasketball
 (https://austinyouthbasketball

 (https://austinyouthbasketball
 Kickoff Bootcamp in Maine
 Former UMFK player who credits Fort Kent with positive change in his life.


 Special Guest & Fort Kent native Beth Daigle King will be helping and bring her CHS Warrior and UMFK Hall of Fame background to help positively impact your players. She will also share her Chat: “6 Doors To Open.”